Building CSP for Windows
This page details how to build CSP and its associated C++ DLLs locally for Windows users. Note that the CSP Solution targets Visual Studio 2022 by default, so we will be using this IDE for this walkthrough.
Prerequisites
This section details the step 2 of the Build Instructions section of this tutorial.
Default Packages
Please run the script install_prerequisites.ps1 in PowerShell as administrator. This script will install the Windows Package Manager Chocolatey as well as the following packages:
git
vscode
python3
llvm
docker-desktop
cmake
Clang
The Clang subproject is part of the LLVM system that has been installed as a package previously. Once the prerequisites above have been installed, please set your custom install path for clang-format in Visual Studio.
Go to
Tools > Options > Text Editor > C/C++ > Code Style > Formatting.Check the last option
Use custom path to clang-format.exe, then clickBrowseand search for the LLVM executable (should be located atC:\Users\username\AppData\Local\Temp\chocolatey\llvm\17.0.1\LLVM-17.0.1-win64.exeby default).
SDK versions
Additionally, you will need three specific Individual Components from the Visual Studio Installer, including two SDKs:
MSVC v143 - VS 2022 C++ x64/x86 build tools (Latest) - required to compile the C++ code.
Windows 10 SDK (10.0.19041.0) - required to build the C++ code.
.NET Framework 4.7.1 SDK and targeting pack - both required to load and build the C# tests.
These SDK versions might not be available from within the Visual Studio Installer directly. If so, they will need to be downloaded from the website and installed separately:
Running Docker Desktop with WSL2
Docker Desktop is known to have issues with WSL, so some further steps are needed for it to function as expected:
Open PowerShell as Administrator, and install WSL2 by running the command
wsl --install.Download the WSL2 Linux kernel update package for x64 machines here.
Follow the installation guide.
Restart your computer.
Build Instructions
Follow the steps below to build the Connected Spaces Platform project:
Clone the
connected-spaces-platformremote repository by running the Git commandgit clone --recurse-submodules https://github.com/magnopus-opensource/connected-spaces-platform.git.Make sure you have installed all the prerequisites by following the Prerequisites section of this tutorial, if you haven’t already.
If you would like to run Docker Desktop using WSL, please make sure to check this subsection of the tutorial.
Open a Command Line Prompt from your
connected-spaces-platformlocal repository, and rungenerate_solution.batto generate the CSP Solution.If you get the error “premake not found”, this probably means the
ThirdPartyGit submodule in which Premake is housed has not been cloned correcly in your local repository. You can check out all the submodules of the project by running the Git commandgit submodule update --init --recursive.
You may also need to build premake manually to get past this step, by opening"..\modules\premake\build\bootstrap\Premake5.sln"in Visual Studio and building the Solution.Double-click
ConnectedSpacesPlatform.slnto open up the CSP Solution.This will take some time, but once loaded, it should look like this:
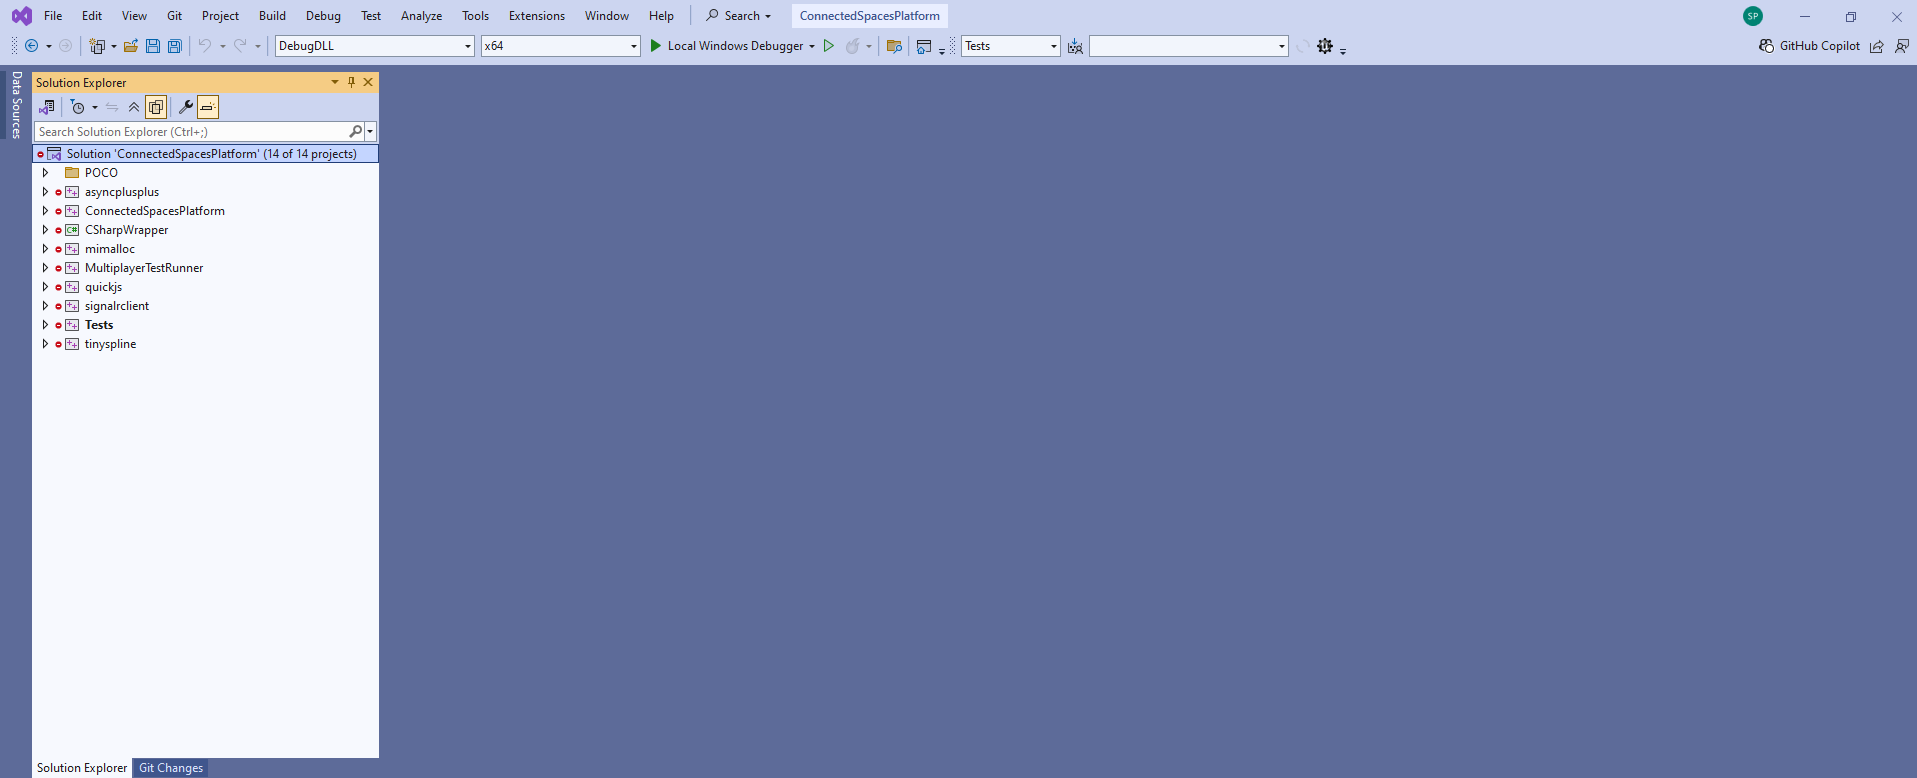
Before building the Solution by clicking on the Green Arrow, ensure you have:
ReleaseDLLoption as your Solution Configurations.x64as your Solution Platforms.Testsproject selected as your Startup Project.

Build Output
Once CSP has finished building, you will find the resulting DLL at connected-spaces-platform\Library\Binaries\x64\ReleaseDLL.